
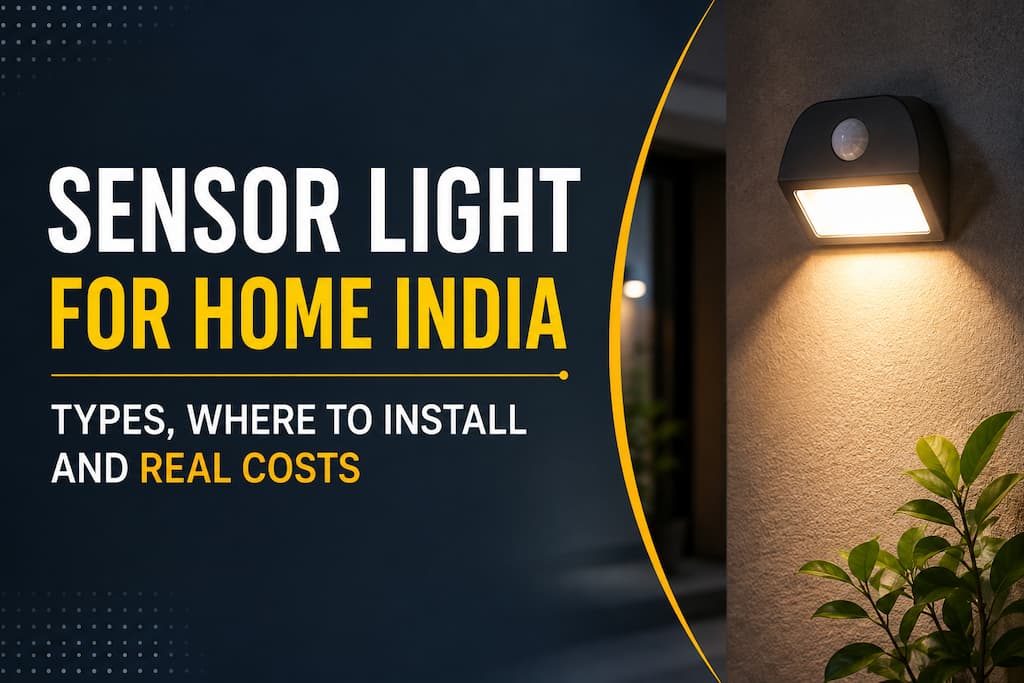
A practical guide to sensor lights for Indian homes, covering the three sensor types in plain language, room-by-room placement with exact mounting heights, wiring vs wireless vs battery for owners and renters, electricity savings in Rs and product costs from Rs 150 to Rs 3,500.
Why Sensor Lights Make Sense in Indian Homes
Most Indian homes have at least one light that is always on when it should not be. The staircase that glows from dinner until breakfast. The corridor light at the end nobody switches off because the switch is at the other end. The bathroom light from a 3am visit that burned until morning. These are small inefficiencies individually, but across a household they add up to Rs 1,500 to Rs 2,000 a year in wasted electricity, and more importantly, they represent design problems that sensor lights solve completely, automatically, without anyone having to remember anything.
The case for sensor lights in Indian homes is not complicated: you buy a Rs 400 to Rs 800 battery-powered unit, stick it on the wall in 5 minutes, and the problem is gone. The staircase goes dark 90 seconds after you reach the top. The corridor switches off when the last person passes through. The bathroom comes on when you open the door at night and off when you leave. The challenge is knowing which type to buy, where exactly to mount it, and whether you need an electrician or can do it yourself. That is what this guide is for.
| Related Articles: → Storage Ideas for Small Apartments India, Room by Room Guide → Utility Area Design Indian Home, Complete Guide with Layouts |
Understanding the Three Sensor Types
Most buyers search for sensor lights without knowing there are three distinct technologies, and buying the wrong one for the application is the most common reason sensor lights disappoint. The differences are not minor.
PIR, or Passive Infrared, is the standard technology and the right choice for the vast majority of Indian home applications. It works by detecting body heat, specifically, the change in infrared radiation when a warm body moves through the sensor’s detection zone. It emits nothing itself; it only listens. This makes it accurate, low-power and reliable in enclosed spaces like corridors, staircases and bathrooms. It is also the most affordable option, typically Rs 150 to Rs 1,800 depending on format, and the most widely available from local electrical shops and online platforms.
Microwave sensors work differently: they emit microwave pulses and detect motion through the return signal, which means they can detect movement through glass, thin walls and other obstacles that would block infrared detection. This makes them useful for large open spaces like covered parking areas or rooms with non-linear layouts, but they are overkill for standard apartment applications and cost significantly more. For most Indian 2BHK or 3BHK homes, you will never need one.
Dual technology sensors combine PIR and microwave detection, requiring both to trigger simultaneously before switching on the light. The practical benefit is a dramatic reduction in false activations, the kind caused by AC airflow, ceiling fans or pets moving through the detection zone. These are worth considering for bedrooms where a standard PIR would activate every time the fan moved the curtain, but they sit at the premium end of the price range and most households genuinely do not need them.
Owner or Renter, This Changes the Calculation Entirely
If you own the flat, wiring sensor lights into the existing electrical circuit is the sensible long-term choice. The lights are permanent, there are no batteries to replace, and the running cost is zero beyond the electricity the lights themselves consume. An electrician connects the sensor unit into the circuit in 30 to 45 minutes per point, charging Rs 200 to Rs 500 in labour. Under the Indian Electricity Rules 1956, this work is restricted to licensed electricians, the cost is modest and the safety reason is real.
If you rent, the economics shift completely. A wired sensor light stays in the flat when you move out. Your Rs 1,500 installation benefits the landlord. Most rental agreements also prohibit electrical modifications without the owner’s written permission, which most landlords will not give for something this minor.
For renters, battery-powered adhesive-mount sensor lights are the practical answer, Rs 200 to Rs 1,200, mounted with double-sided tape or two screws, removed without damage when you leave and taken to the next home. Plug-in socket sensor night lights (Rs 150 to Rs 400) are even simpler: they go into any 5A socket, require no installation, and are genuinely useful for bathrooms and corridors where a socket is conveniently placed. The limitation is that they are only useful near sockets, which in a utility area or staircase may not be the right location.
Where to Install, Room by Room
The staircase is where sensor lights deliver the clearest, most immediate value in Indian homes. The recommended mounting height is 1.8 to 2.1 metres from the floor at either the top or bottom landing, with a detection angle of 120 to 180 degrees, narrow-angle sensors miss movement at the stair edges, which is exactly where you are when you need them most. Set the off-delay to 60 to 90 seconds: long enough to comfortably reach the top or bottom, short enough that it is not running for 10 minutes while you read in bed. On a staircase that sees heavy daily use, a wired connection is more cost-effective than battery in the long run, replacing batteries every few months on a high-traffic staircase gets tedious.
For bathrooms, mount the PIR sensor on the wall opposite the door at approximately 2 metres height, angled toward the door frame. The goal is to trigger the light as the door opens, not after you have already shuffled in. For renters, a plug-in socket night light in the shaving point near the mirror works well and needs no installation. One calibration most people skip: the lux dial on the back of the sensor, a small screw that sets at what ambient light level the sensor activates. Adjust this until the sensor stops triggering during daylight hours, otherwise the light fires every time someone walks past the door in the afternoon.
The front door and building entrance are the other high-value location. Mount above the door frame at 2.4 to 2.7 metres, angled downward at roughly 30 to 45 degrees, covering the approach from the lift lobby or staircase. For apartment residents who do not want to affect the common corridor lighting, a battery-powered sensor mounted just inside the doorframe lights the entry area privately. Set the delay to around 30 seconds, enough to unlock the door without the light switching off mid-key-fumble.
Inside wardrobes is the most underused application and by far the cheapest. A battery-powered adhesive strip light with a magnetic door switch, not a PIR sensor, which would not work inside a closed wardrobe, costs Rs 150 to Rs 400 and triggers automatically when the door opens. The same product works inside kitchen cabinets and shoe racks. No wiring, adhesive mount, and the difference in usability when you open a dark wardrobe at night is immediate.
For corridors: one PIR sensor at each end of the passage at 2 to 2.2 metres, wired in parallel if doing a wired installation so either sensor triggers the light. The off-delay of 30 to 45 seconds is sufficient for any standard flat corridor. For covered parking, a weatherproof PIR rated IP44 minimum mounted at 2.5 to 3 metres above the bay entrance, with a detection range of at least 8 metres and a delay of 3 to 5 minutes to account for the time it takes to park and unload.
Where Not to Install, Common Mistakes Worth Avoiding
The kitchen cooking zone is where the most common sensor light installation error occurs. PIR sensors work by detecting body heat against a cooler background, the contrast is what triggers the sensor. A gas burner raises the ambient temperature of the cooking area, which either makes the sensor hypersensitive (triggering constantly as hot air currents move through the zone) or completely unresponsive when the background temperature rises to match body temperature. The solution is simple: mount any kitchen sensor light at the entry point to the kitchen, not above the cooking area.
Bedrooms as a primary light source are also a recurring problem. Turning over in bed, getting up for water or adjusting the AC triggers a PIR sensor frequently enough to meaningfully disturb sleep. Ceiling fans make this worse by creating air currents that some sensors interpret as movement. A very low-output plug-in night light near the bedroom door for late-night bathroom navigation is the right application, not a sensor-controlled ceiling light as the main source.
Living rooms present a different failure mode: people sit still while watching TV, and most PIR sensors interpret sustained stillness as absence. The light switches off. Someone has to wave at the ceiling to turn it back on. This is not a product defect, it is a misapplication. Sensor lights belong in the entry passage to the living room, not as the primary living room light. And for any space with ceiling heights above 4 metres, a standard PIR sensor loses sensitivity at floor level as the detection cone becomes too wide at that mounting height; a microwave sensor handles high-ceiling spaces better.
The Electricity Savings, Actual Rs Numbers
Most guides describe sensor light savings as percentages, which are meaningless without knowing what you are starting from. A more useful way to think about it: at Rs 7 per kWh, which is the average domestic tariff in Mumbai, Bengaluru, Delhi and Hyderabad, a 10-watt staircase LED left on unnecessarily for 4 hours a day costs about Rs 240 per year. A 10-watt corridor LED running 5 unnecessary hours per day costs about Rs 300. The bathroom adds Rs 120 to Rs 180. A covered parking LED running all night adds Rs 360 to Rs 480.
Across a typical 2BHK with sensor lights at the staircase, bathroom, corridor, front door and parking, the annual saving is somewhere in the range of Rs 1,140 to Rs 1,860. A complete battery-powered setup covering all five locations costs Rs 1,500 to Rs 4,000. The payback period is 12 to 32 months, after which the savings are clear every year. For residents on tariff slabs above Rs 9 per kWh, the numbers are proportionally better.
Product Costs and When You Need an Electrician
The product range for Indian homes runs from Rs 150 plug-in socket night lights at the simple end to Rs 3,500 microwave sensor ceiling lights at the premium end. For most applications, the Rs 400 to Rs 1,200 range covers everything you need: battery-powered adhesive panel lights for staircases and corridors, plug-in socket units for bathrooms, and wired all-in-one PIR sensor ceiling lights for permanent corridor and staircase installations. Outdoor weatherproof units rated IP44 to IP65 for covered or open parking bays run Rs 800 to Rs 2,500.
The electrician question is straightforward: plug-in and battery-powered lights need no professional involvement, they take minutes to install without any tools. Wired sensor lights, whether a separate sensor unit fitted into an existing light circuit or an all-in-one fitting replacing an existing ceiling fixture, require a licensed electrician. The Indian Electricity Rules 1956 are specific on this point, and the Rs 200 to Rs 500 labour cost per point is worth paying correctly.
One practical note on calibration: whenever you install a new sensor light, wired or battery, adjust the off-delay and lux threshold settings in the evening, under the actual light conditions the sensor will operate in. Both settings are typically small screw dials on the sensor body. Adjusting them in bright afternoon daylight will give you the wrong calibration for a sensor that primarily operates at night.
If you are going to do one thing from this guide: install a Rs 400 to Rs 800 battery sensor light on your staircase this week. It is a 5-minute installation, it eliminates a genuine daily annoyance, and once you see how immediately it works you will understand why it is worth doing the rest of the house.